Winter Tires Are Tech ALL Drivers Need Now – EP 70 https://youtu.be/HRNIamadsZ0?si=GFAkwZcJQbzTu0c9 Cars are full of tech. But for Canadians, the most significant te... Continued
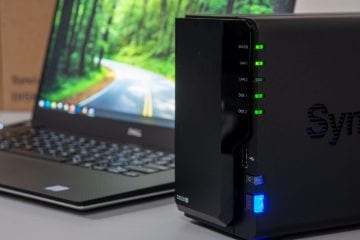
9.5 Synology DiskStation DS220+ Review Are you looking for a storage solution that is easy to set up and use? Whether or not you are a home user or a small bu... Continued
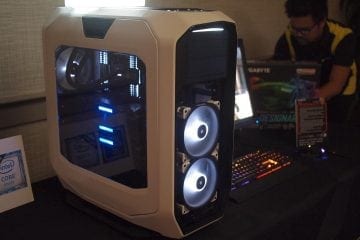
Napa Valley Press Event: Gigabyte, Corsair and Intel Putting Gamers First What comes to mind when you think about Napa Valley, California? Perhaps you envision wide, expansive vineyards. Maybe y... Continued
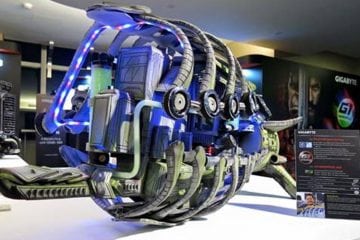
Computex 2016: Crazy Case Modders Showcased by GIGABYTE Yes, believe it or not, that is a fully functional computer there. It may have once been the case (no pun intended... ok... Continued
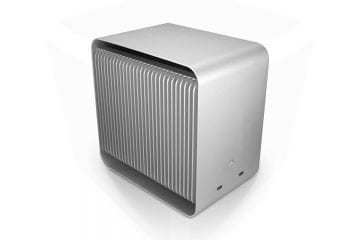
Computex 2016: Streacom DB2 Announced Second, but Not Necessarily Second Best We're still working through our product announcements from Computex, which is good because Streacom decided to announce ... Continued
Taiwan’s Digital Dreams May Not Be Realized in Hardware When you think of Taiwan you tend to think of their biggest brands. ASUS, HTC, ACER are just some of the names that tech... Continued
Holiday Gift Guide: Unorthodox Ideas for PC Gamers (for Under $100) Are you shopping for an extra special PC gamer this year, but you don't exactly have the kind of budget to set them up w... Continued